How To Install Chevy Traverse Emblem Overlay Inserts
WEATHER WARNING
The temperature that you install your decals in is the most critical element. Temperatures must be between 50°F to 90°F.
The weather that the decals are exposed to cannot go below 50 degrees for 5-6 days. This is due to the water used during the install. The time is needed to allow the water between the decal and emblem to completely evaporate. There may be bubbles in your decal until the water has fully evaporated.
For more details about proper temperatures and weather conditions, click here.
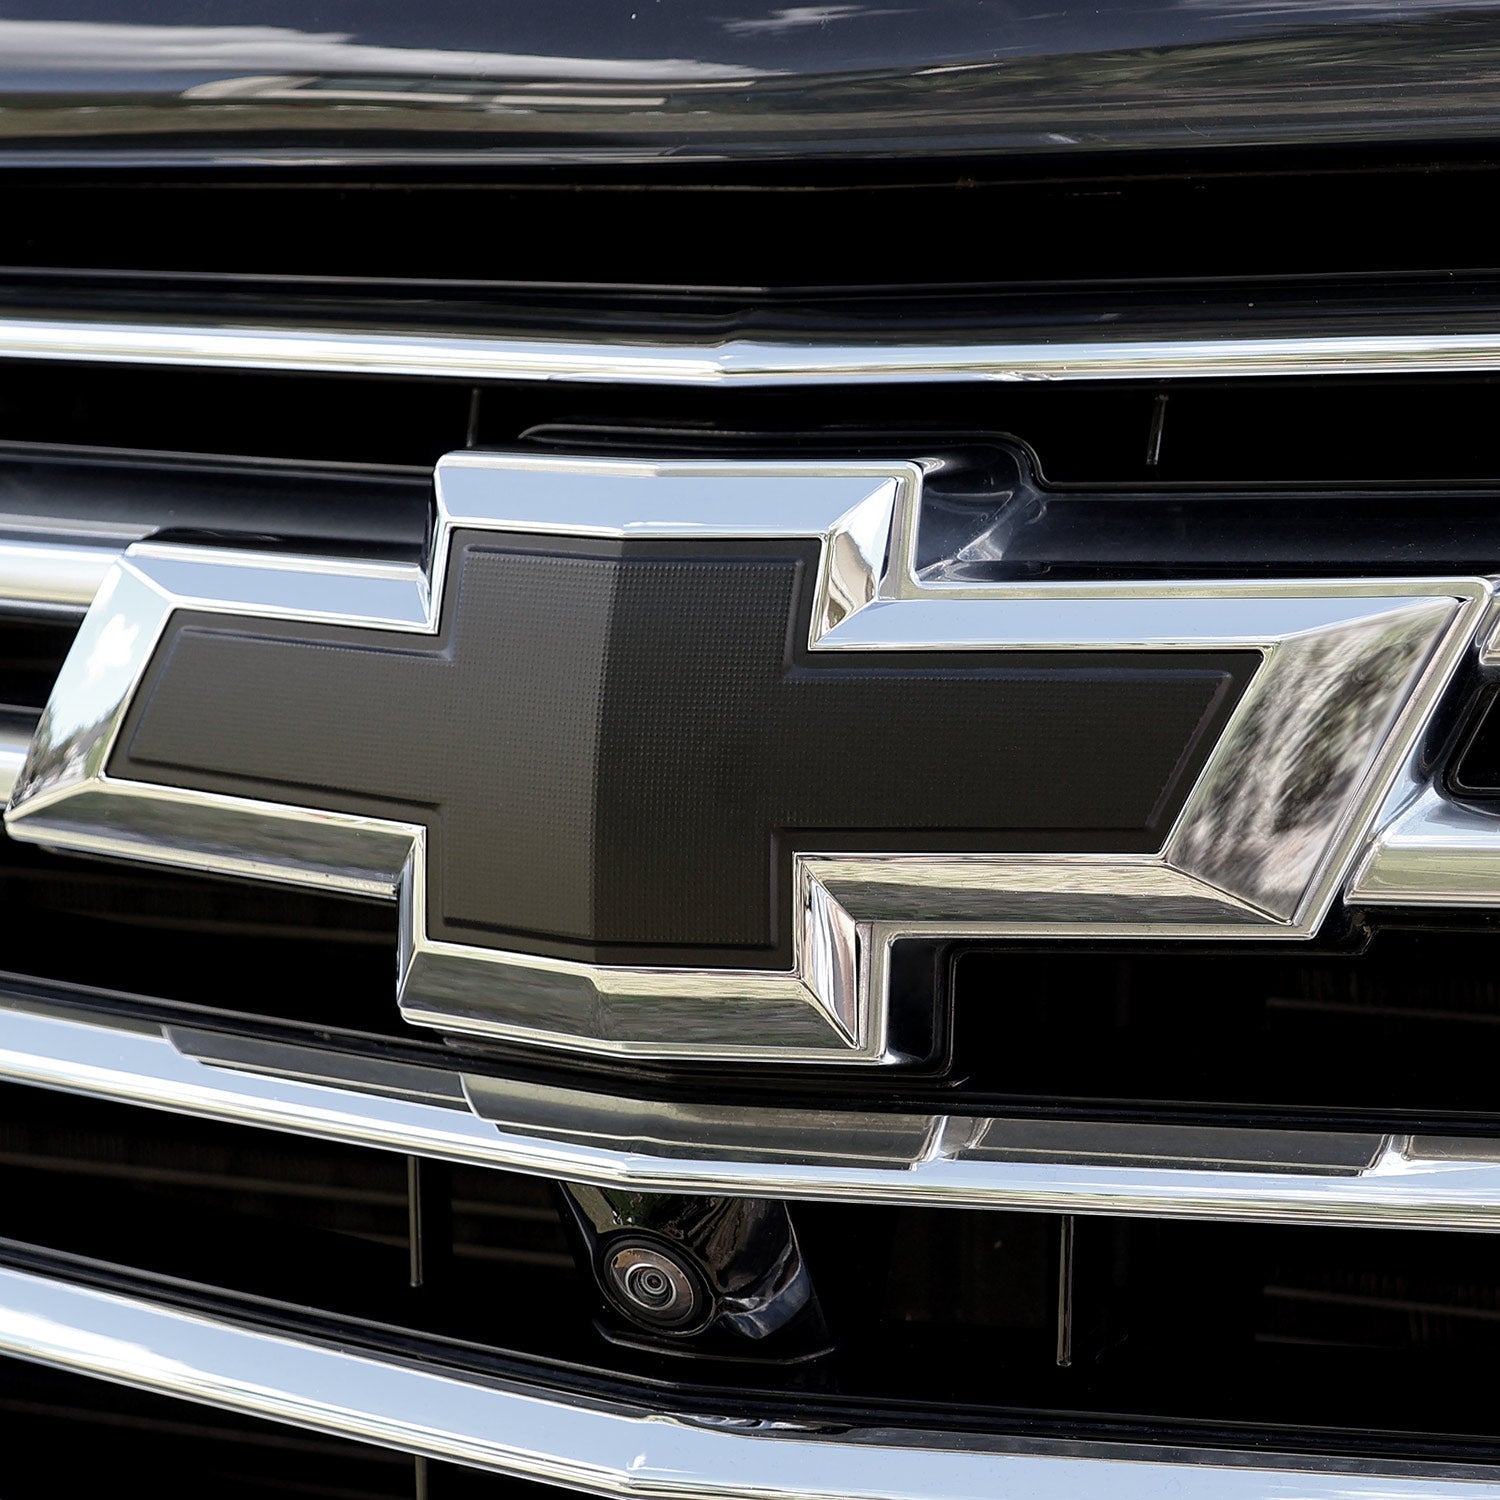
Clean Factory Emblem
Thoroughly clean your vehicle emblems with warm soapy water and a lint-free cloth. Make sure to spend extra time cleaning the crevices and edges. Assure your emblems are free of any dirt, grime, or grease.
Failure to clean your emblems properly may result in a shorter life for your emblem insert overlays.

Wipe Emblem With Alcohol Pad
Using the included Isopropyl Alcohol wipes, thoroughly wipe down and clean any area of your emblem that is yellow.
This will help remove any remaining grease or other contaminants.

Mist Emblem With Water
Using a spray bottle, mist water over the yellow areas of your emblem. The water will allow you to adjust the placement of the decal to allow an exact fit.
Failure to wet down the emblem will make installation dramatically more difficult.

Carefully Remove Decal Paper Back
Very carefully remove the decal from the paper back it arrives on. Make sure to do this slowly. Going too quickly or roughly can stretch the vinyl.
MAKE SURE your hands are dry when removing the vinyl decal from the paper.
DO NOT get the back paper wet. Doing so will cause the paper to stick to the decal and ruin the overlay.

Align Decal Over Emblem
Take your time, carefully align the decal onto the yellow portion of your emblem.
We recommend starting your alignment with the inside-top corns at point (A). After point (A) is aligned, align point (B). From there, you can carefully make any alignments around the rest of the emblem.

Press Out Water
After you have aligned your decal correctly, begin to blot the decal to work out the water. Start from the inner areas of the decal and work your way outward.
Spend a bit more time doing this step than you feel is needed. It will help adhesion and provide a better result in the end.

Activate Adhesive With Heat
HEAT GUN WARNING
When heating up your decals, make sure to only heat them until warm to the touch. Do not overheat your decal overlays. Doing so can dry the material and cause damage. Do not let the heat focus on one area. Make sure you consistently move the heat gun to avoid damage to the vinyl.
We recommend using a heat gun on its low setting or a hairdryer on its hot setting.
With the decal lightly heated up to activate the adhesive, work out bubbles and press the decal into the emblem. Make sure to work from the center of the decal outward. Going in the opposite direction can capture bubbles and wrinkles in the decal.

Work Out Imperfections (Next Day)
Your overlay may likely have small bubbles and not be fully laying flat to the emblem after your install. This is normal and can look even better with a few minutes of follow-up work the following day.
It is recommended to leave the vehicle in direct, warm sunlight for a day. After which, you can press the decal into the emblem again with good pressure. This will allow the decal to stick better since the water has had more time to evaporate.
