Phone Skin Install (Back Skin)
Getting Started
Congratulations on your purchase of a BocaDecals phone skin!
Your phone skin includes:
- Vinyl phone skin (your skin style may vary)
- Alcoholic prep pad
- Cleaning cloth
- Coupon for future purchase
Recommended for install:
- Well lit area
- Heating gun (or hot hairdryer)

Clean Your Phone
Using the included alcohol prep pad clean off any surface the vinyl skin will be installed. This will remove any dirt or grease.

Next use the included cleaning cloth to wipe any streaks or marks off the surface of your phone where the vinyl skin will be applied.

Apply The Skin
Next is the most critical part of the install. You’ll need to properly align the vinyl skin to the back panel of your phone.
Your vinyl skin is designed for a PERFECT fit. Any misalignment of the vinyl skin during this step will result in the vinyl skin not fitting perfectly.
First carefully remove the vinyl skin from the paper backing.

We like to start by aligning the vinyl kin to the top of the phone back panel. The vinyl skin should be applied to the very edge of the back panel. Most phones have a thin rubber lining between the back panel and the edge of the phone. Make sure you align the vinyl skin to the edge of the back panel. Do not cover the rubber lining between your back panel and phone edges.
Make sure to properly center the vinyl skin. For most phones the camera bump can be used for alignment.
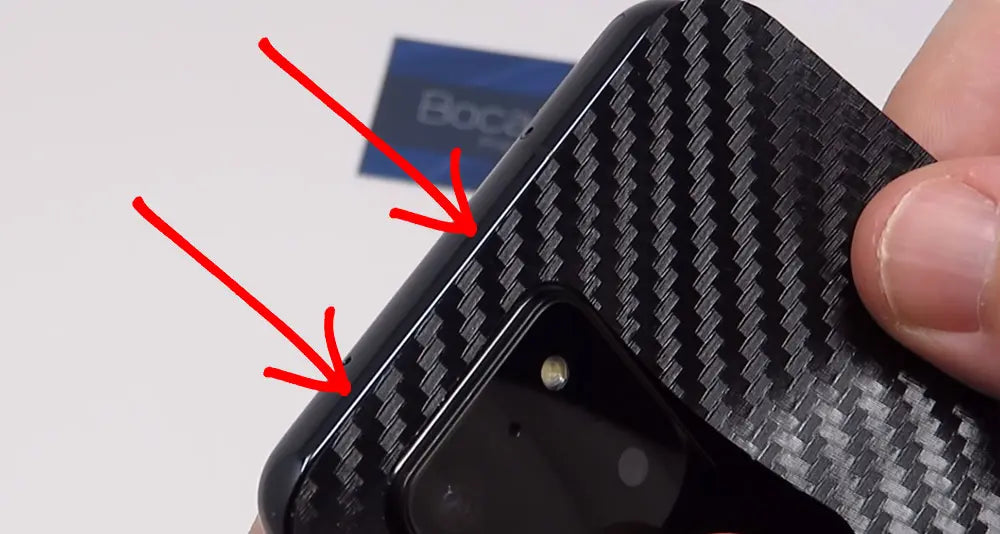
While putting the vinyl skin in place make sure the edge of the vinyl skin align with the left and right sides of the phones back panel. If you need to move the vinyl skin it can be gentle lifted and reapplied.

Verify that the edges and any notches are properly aligned before completing the install.

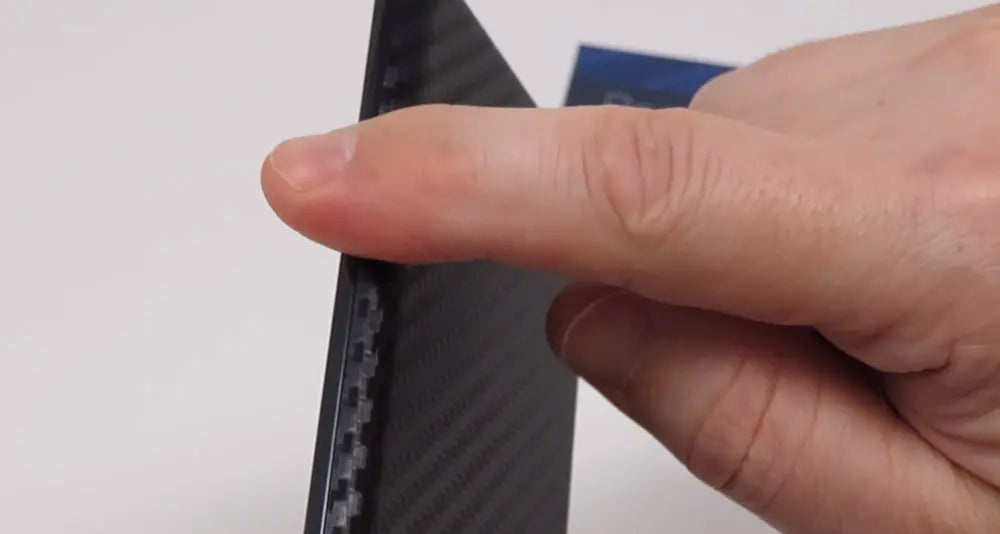
After you have verified that the vinyl skin placement is where it needs to be, you can work out any bubbles and use your thumb to gently, but firmly, press the vinyl skin onto the phone.
Work from the middle of the phone outward to work out any bubbles.

Next work your finger along the edge of the vinyl skin to adhere it to the edges of the phone back.
Heat Up The Skin
Many modern phones have curved back panels. In these cases you will need to heat up the vinyl skin make it pliable enough to curve around the curved edges properly.
Using a heat gun on low, or a hairdryer on high, heat up the corners of the vinyl skin 4-5 seconds. It should be warm to the touch and the vinyl skin should be more pliable.

Using your fingers run the vinyl skin into the phone back going from the inner part of the phone outward. Do this several times until any bubbles or wrinkles are removed from the each corner of the vinyl skin.

After you have heated up all the corners and properly adhered the vinyl skin to all area of the phone back we recommend that you use the heat gun to gently heat up all areas of the vinyl skin and gently rub the vinyl skin onto the back of the phone last time to make sure the adhesive creates a strong bond.

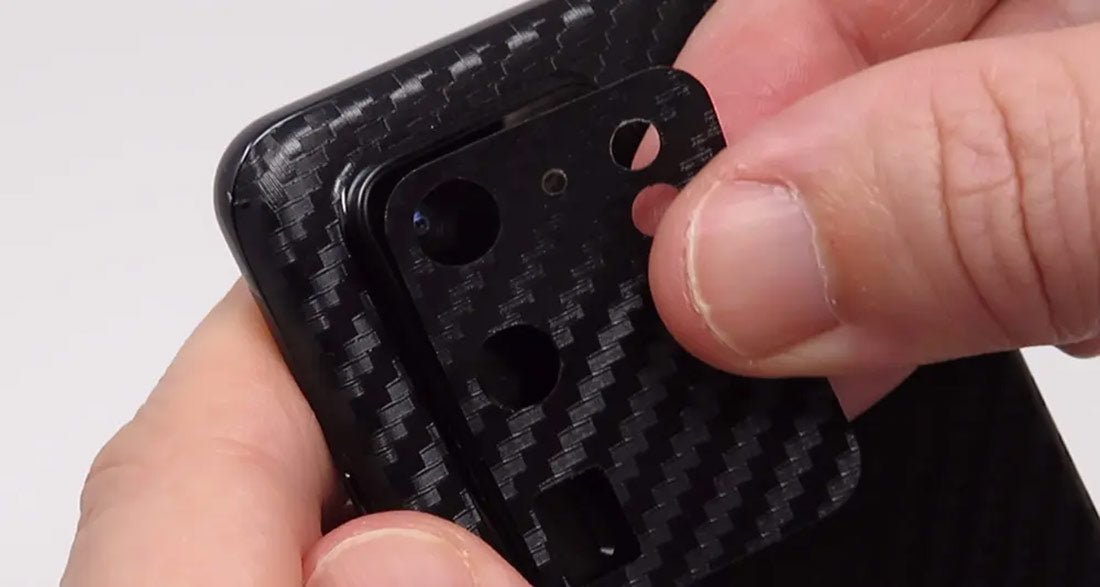
Apply Camera Bump Skin
Lastly you will need to apply the optional camera bump vinyl skin to your phone back.
Before you apply the vinyl skin on the camera bump we recommend that you wipe it clean with the included cleaning cloth to remove any grime that has shown up on the phone since you first cleaned it.

Next remove the camera bump vinyl skin from the paper backer. Align the vinyl skin onto the camera bump. Center cameras and sensors with the vinyl skin can help making alignment easier.
After you have aligned the camera bump vinyl skin work out any bubbles with your fingers. You can also apply a little heat with the heat gun to help the adhesive to adhere better.
