Installing Mustang 5.0 Emblem Insert Decals
Note: Your decal inserts are designed for an exacting fit. If you find you can still see some of the red from the OE emblem showing through the side, simply realign the decal to cover the red.
Clean Factory Emblems
Thoroughly clean the 5.0 emblems with warm soapy water to remove any dirt or grease, so that the decals adhere appropriately.
After the emblems are dry wipe the red inner portion with the included alcohol prep pads to remove any remaining grease or grime. It is also recommended to use a q-tip with rubbing alcohol to clean the inner crevices of the emblem thoroughly.
Note: Failure to properly clean your emblems can result in the decals peeling and/or shortening the life of the decal.
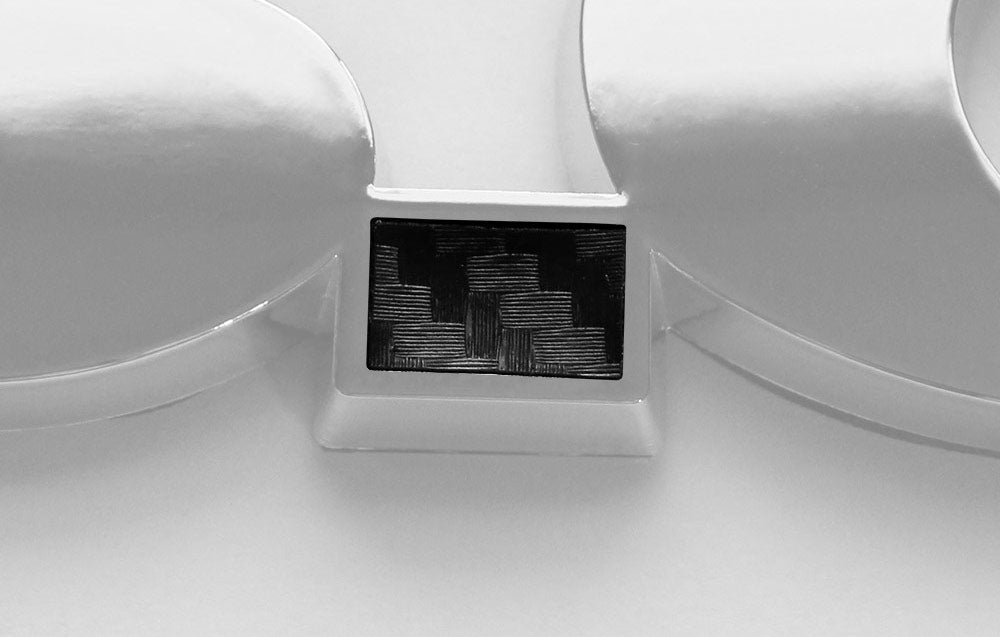
Do Not Use Water
Carbon fiber decals do not need water for installation. We do not recommend using water during your install.
Align Decal Inside of Emblem
Tip: Due to the size of these decals, you may want to use tweezers to hold and place the decal on the emblems.
Carefully align the decals inside the 5.0 emblem. Make sure to cover the red portion of the emblem. If you are seeing red after placing the decal you can carefully move and realign the decal if needed.
Firmly Press Into Place
With a soft, lint-free, cloth over your finger, press the decal into its final place.
Apply Heat to Activate Adhesive
Heat the decal with a heat gun or hairdryer to activate the adhesive. Make sure the decal becomes warm so the adhesive backing activates.
Press the decal into the emblem again while the decal material is warm.