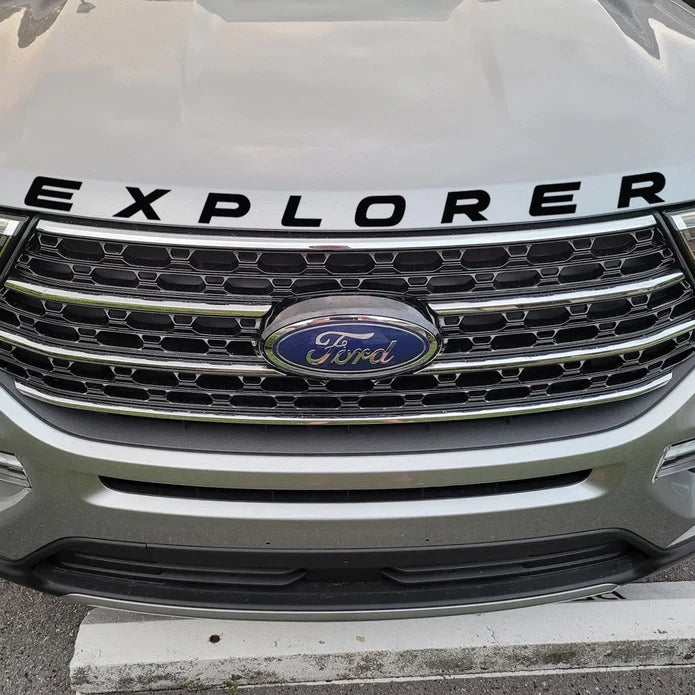
Installing Ford Explorer Hood Lettering Decal
NOTE: Temperatures must be between 60°F to 90°F for decal to adhere correctly.
Clean Surface
Make sure to thoroughly clean the surface of the car where you are installing the decal with warm soapy water. Make sure your hood is free of any dirt, grease or other debris.
Wipe down the surface the decal will be installed on with Isopropyl Alcohol to remove any remaining dirt or grime.
Note Install Location
Place the decal, with paper backing still attached, in place on the hood. Take note of the alignment to make sure there is equal distance on the left and right of the decal, as well as 1/3” of spacing along the bottom of the letters of the decal to the bottom edge of the hood.
Install/Align Into Location
Apply masking, or painters tape, along the top of the decal to hold it in place on the hood. Make sure to only apply take to the top side of the decal.

Lay the decal upward on the hood, allowing the backside of the decal to face upward. The letters will be backwards. Carefully remove the white paper on the back of the decal. Do so slowly. As you remove the paper backer the decal should remain with the front transfer tape.

Using a water filled misting bottle, thoroughly spray down the hood where the decal will be as well as the tacky backside of the decal.
Carefully lay the decal in place on your hood where it is to be installed. Make sure your alignment is still correct. The water allows you to correct minor misalignments by gently lifting and moving the decal.
Make sure the decal is aligned properly before starting to squeegee the decal.
Squeegee Out Water
From the center of the decal outward squeegee out any bubbles and water with a credit card or squeegee. Make sure to work from the center of the decal outward.
Remove Application Tape
After you have finished squeegeeing the decal carefully remove the white transfer paper, starting at the left or right side of the decal. Fold the transfer paper back until you touch the car. Now with the transfer paper laying against the car, slowly and carefully pull off the transfer paper back. Make sure to do this slowly and carefully to make sure the decal remains on the car. Doing this too quickly will lift the decal off the vehicle.
Post Install
Gentle dry off the decal area and allow the decal to dry in temperatures above 65 degrees for at least three days for the decal to adhere correctly.
You have completed your install. Enjoy!
